7 Secrets To Installing A Cabinet The Right Way
You've received your prefab cabinets. Now, how do you hang them without any mistakes? We'll explain here how installing a cabinet can be done with perfection.
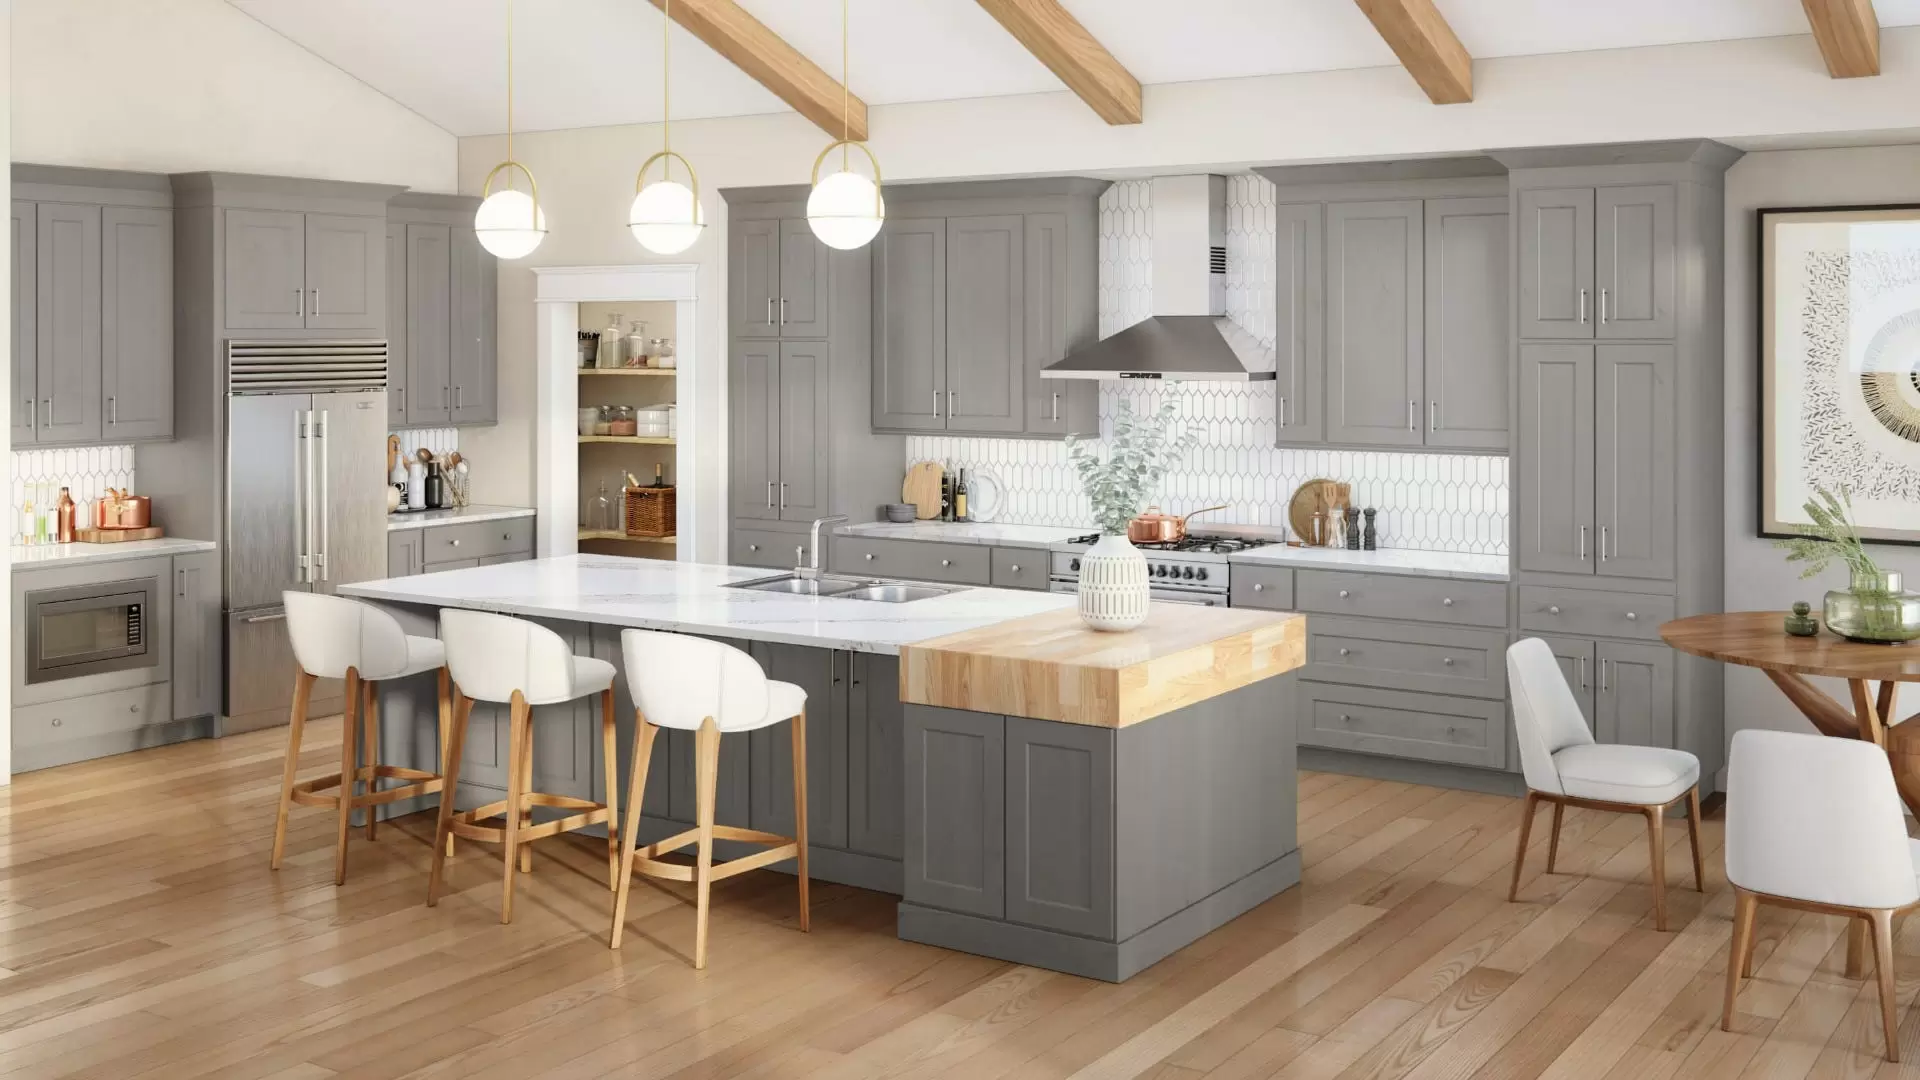
Remodeling your kitchen is an exciting opportunity to transform a well-used space into something fresh. It can be expensive, though, and using RTA cabinets can help defray some of the cost.
The problem is, once you have the cabinets, you have to install them. This is a DIY project many are attempting for the first time.
Fortunately, installing a cabinet isn't as tough as you may expect. Check out our full guide below to help you do it right.
1. Start with an Inspection
If you've already decided on the kitchen trend you're going with and purchased your cabinets, then you've probably got a shipment on the way or already in your kitchen ready to go.
Inspect them right away when they arrive. Make sure they are what you ordered (size, style) and that all the parts are included. You should also check the hardware that comes with them. Be sure the right cabinet screws and knobs and other metal pieces are part of the shipment.
If something isn't right, you'll be able to start a return or exchange right away. When you wait too long to open the shipment, often the companies won't honor a return policy because it's too late.
When you're sure everything is present and accounted for, you'll be ready to start putting your cabinets together.
2. Assemble Cabinets Slowly
Most of the time, RTA cabinets really are ready for you to assemble as advertised. Yet occasionally it's a tougher job than you think.
Start by making sure you have all the supplies you need, like glue and dowels. They should come with the cabinets, along with all the screws and hardware you checked for in the last step.
Read through the instructions before you start so that you know the steps ahead of time. Then go back through and follow each step carefully.
If the instructions don't make sense, try to find a video or help on the company's website before going ahead with what you think it means. That can lead to costly mistakes.
3. Level Cabinets Before You Start
Depending on how old your home is, you may not have an entirely level house. That can make it a challenge to get your cabinets level. You can't trust your eye.
You always install base cabinets first, so start by finding the highest point of the floor. It may seem like it's flat, but double-check. When you find the highest point, mark it out all the way around the room, so that you can align the base cabinets with that line. Use a chalk string or laser level to help.
Next mark out the studs. You always want to attach cabinets to a stud, not drywall only. Use a plumb line to help you mark straight lines for the studs.
4. Installing a Cabinet: Do the Base Cabinets First
One surprising thing about ready-to-assemble cabinets is that there's a lot of free help available. While it's a DIY option, the company you order from should provide support and help you through the process.
Don't install cabinets without a helper, even if you think you're strong enough. It's easier if you have a second pair of hands.
Start by test fitting the base cabinets into place. Do the corner cabinets first, and then the others. You'll discover at this point whether you need any spacers or fillers.
Mark out on the wall where each cabinet goes. Remember that the backs of the cabinets are usually slightly narrower than the fronts (about a quarter inch on each side), so be sure you're including spacers that are the right size for the fronts of the cabinets.
Mark out a level line at the top, too. Use a chalk line and level to help you get it straight all around the room.
Now you're ready to install the corner cabinets. Remove the doors and shelves and set them aside. Make sure you mark them so you know which cabinets they belong to.
Set the cabinets in place and shim the bases. Line up the sides and top with the lines you made using your leveling tools. When you're ready, screw them to the studs.
Install the rest of the base cabinets, moving inward from the corner cabinets you installed. Clamp the next cabinet to the one you have installed and feel the joint for alignment. Take your time to get it right; it may take several attempts.
When it's right, screw the cabinet into the stud. Repeat with the next base cabinets until all are installed, then add the filler strips.
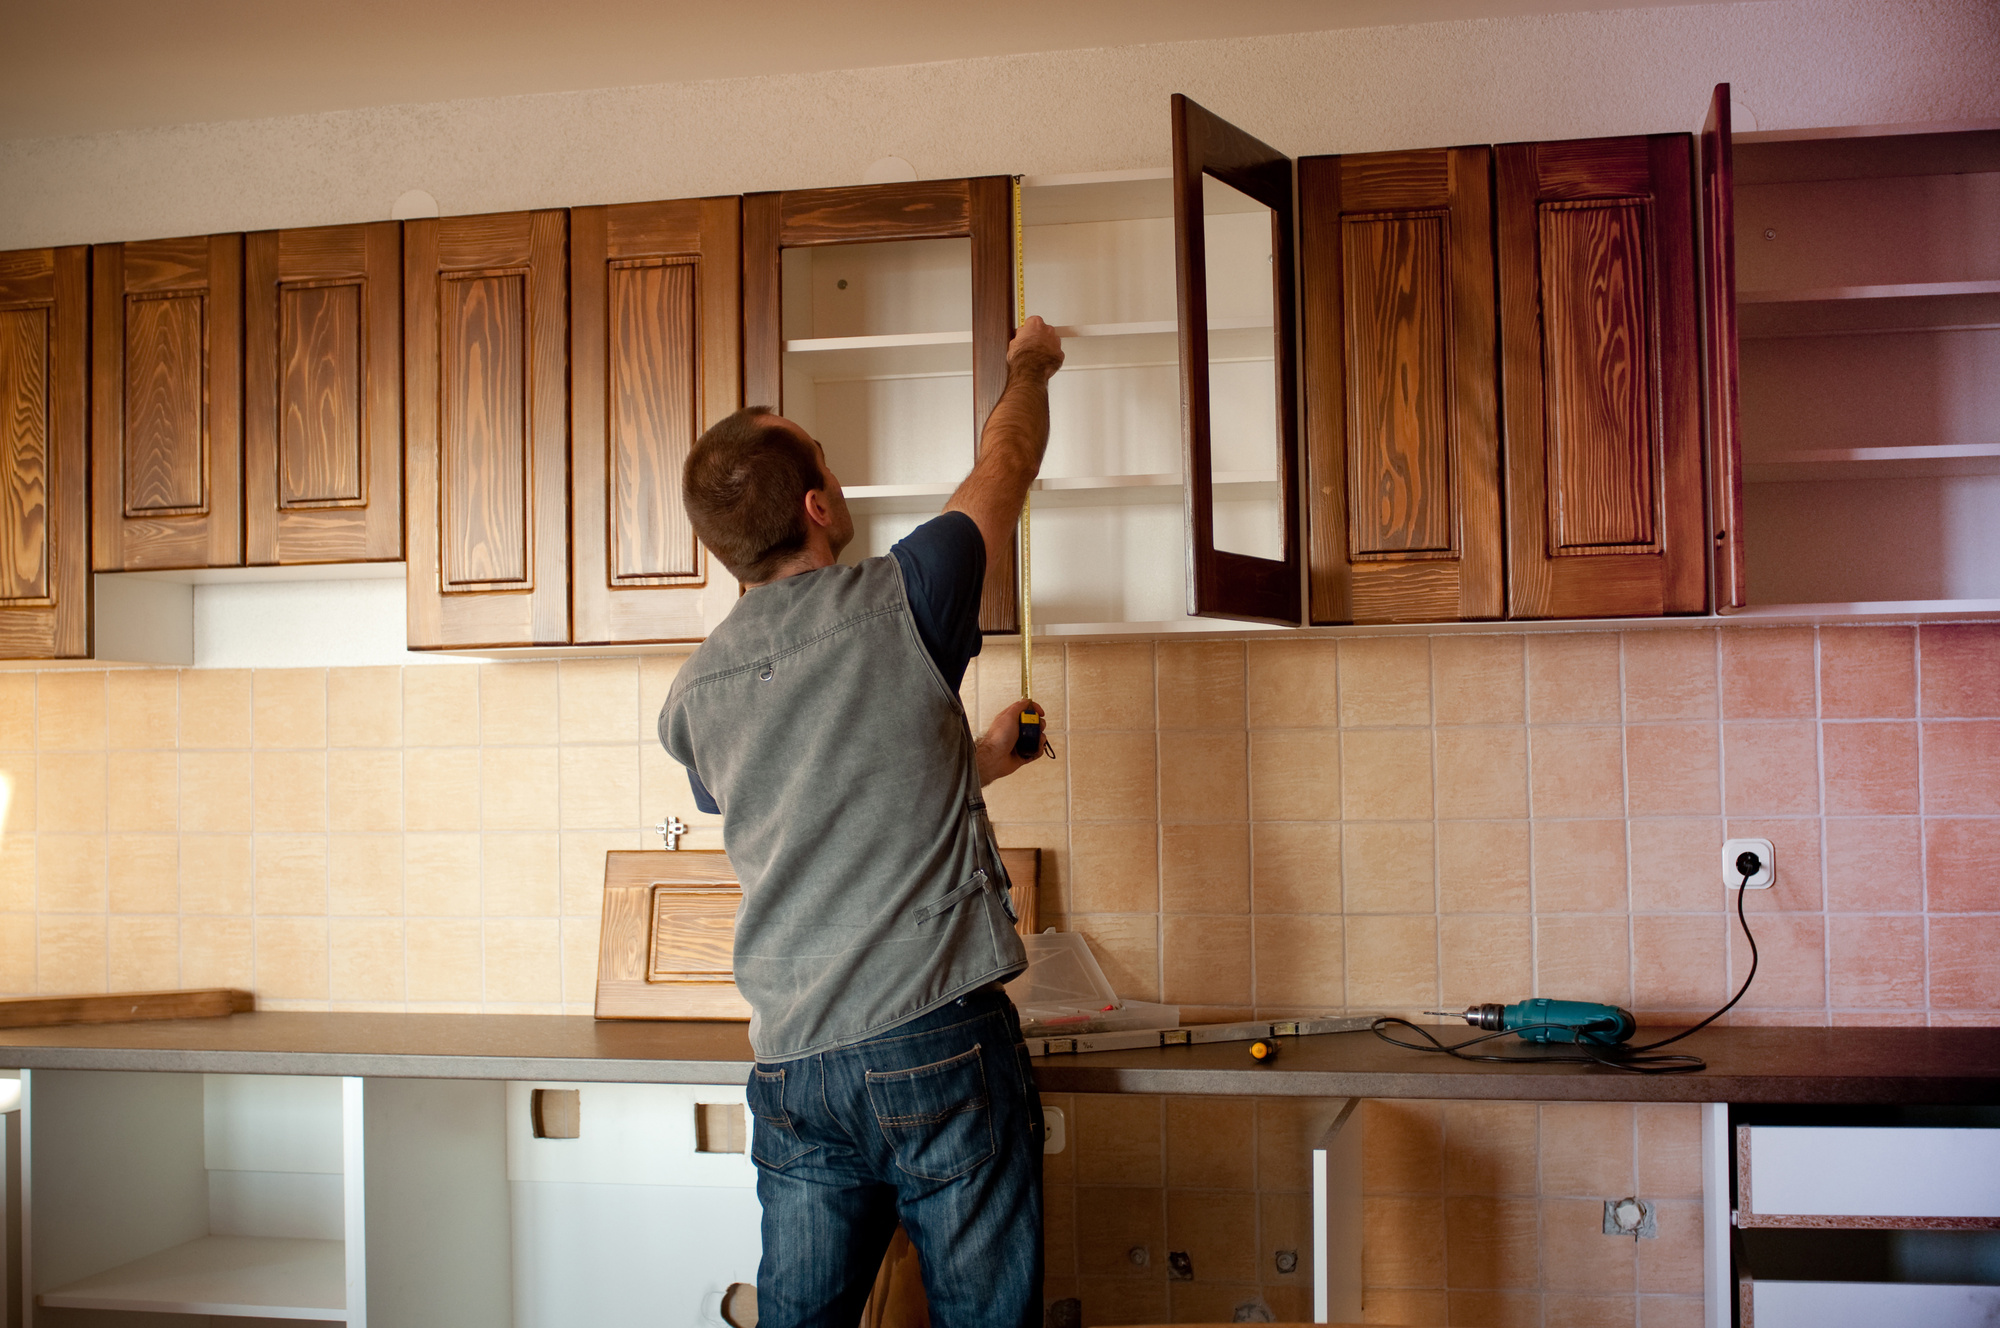
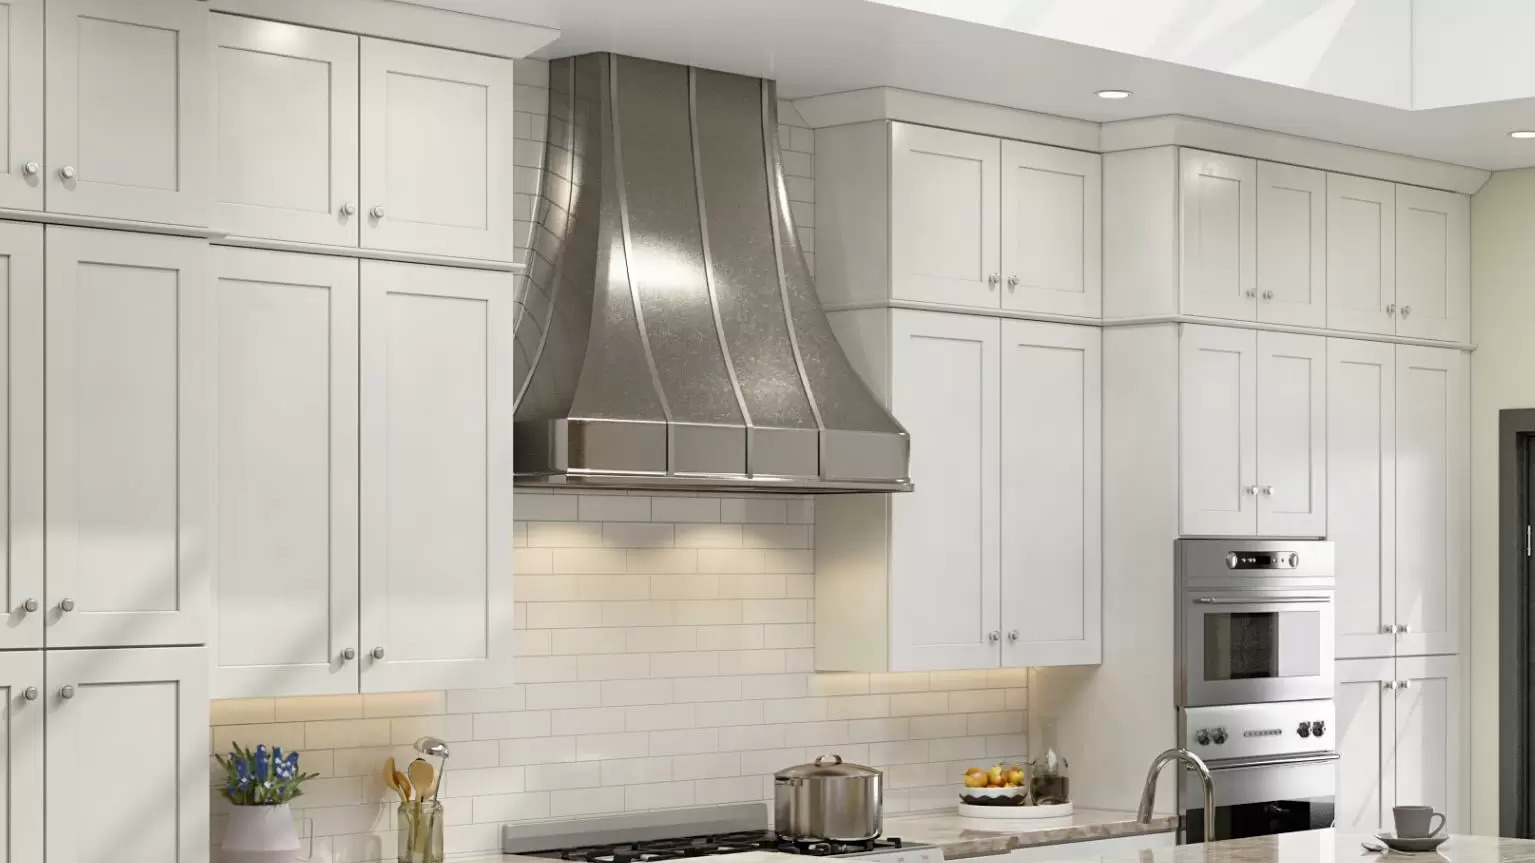
5. Get Help Installing Upper Cabinets
Upper cabinets go in much the same way base cabinets do, but they're tougher because you have to hold them in place while you screw them to the wall. This makes minute adjustments more difficult. Take your time and you'll be fine, especially if you have help.
Test fit the cabinets, mark out their positions, and remove doors and shelves. When you're ready, start with the corner cabinets and install them. Then move inward, installing the rest.
6. Take Time for Finishing Touches
Replace the cabinet doors and shelves. When you assembled the cabinets, you installed the doors, so you should be able to follow the same lines and screw holes from the first time you installed them.
Install any cabinet braces. These add strength and help you make sure the cabinet doors are square.
7. How to Align Cabinet Doors: Or Misalign?
You may notice your cabinet doors look misaligned or they hit against appliances. You can make small adjustments to ensure that they look right and stop bumping.
It doesn't mean you did a bad job making them level or plumb. More likely it means your house isn't quite level and the adjustments you need to make will make them just a bit un-level.
Make the changes by tightening or loosening the mounting screws. If that doesn't help, look for screws to adjust the doors up or down.
Some cabinets don't have these. In that case, loosen the mounting screws, adjust, and retighten until you get it right. Close the door after each adjustment to check your work.
All that's left is to enjoy your new cabinets. You may want to use some new kitchen organizing ideas or trade out your dishes for new ones to make everything feel fresh.
DIY Projects
When you're thinking of installing a cabinet, it can be daunting. Yet with our guide and RTA cabinets, you shouldn't have any trouble.
Get a free 3D kitchen design and more when you ask us about your remodel.
Most Viewed Items
- Frameless RTA Kitchen Cabinets: Streamlined Elegance for Modern Homes
 January 1, 2024
 - The Ultimate Guide to Ready Kitchen Cabinets: Choosing the Best Fit for Your Home
 January 1, 2024
 - Cabinetry Trends for 2023: Exploring Vibrant Colors and Timeless Patterns
 September 29, 2023
 - Latest Trends in Kitchen Cabinets-2023
 September 29, 2023
 - Transforming Your Kitchen with RTA Cabinets: Before and After Inspiration
 August 16, 2023